Not long ago the class was tasked with creating a model prototype for one of three design ideas, one of which being a digital shower controller. The design prompt was to mimic OXO’s universal design philosophy, and one of the design notes reminded us that, as users would be in the shower, they would not have any corrective lenses they may wear and their precision with touch interfaces may be reduced due to being wet. With these in mind, I decided to make most of the controls for the system physical, and the only touch-based commands to be very general, not requiring any form of precision.
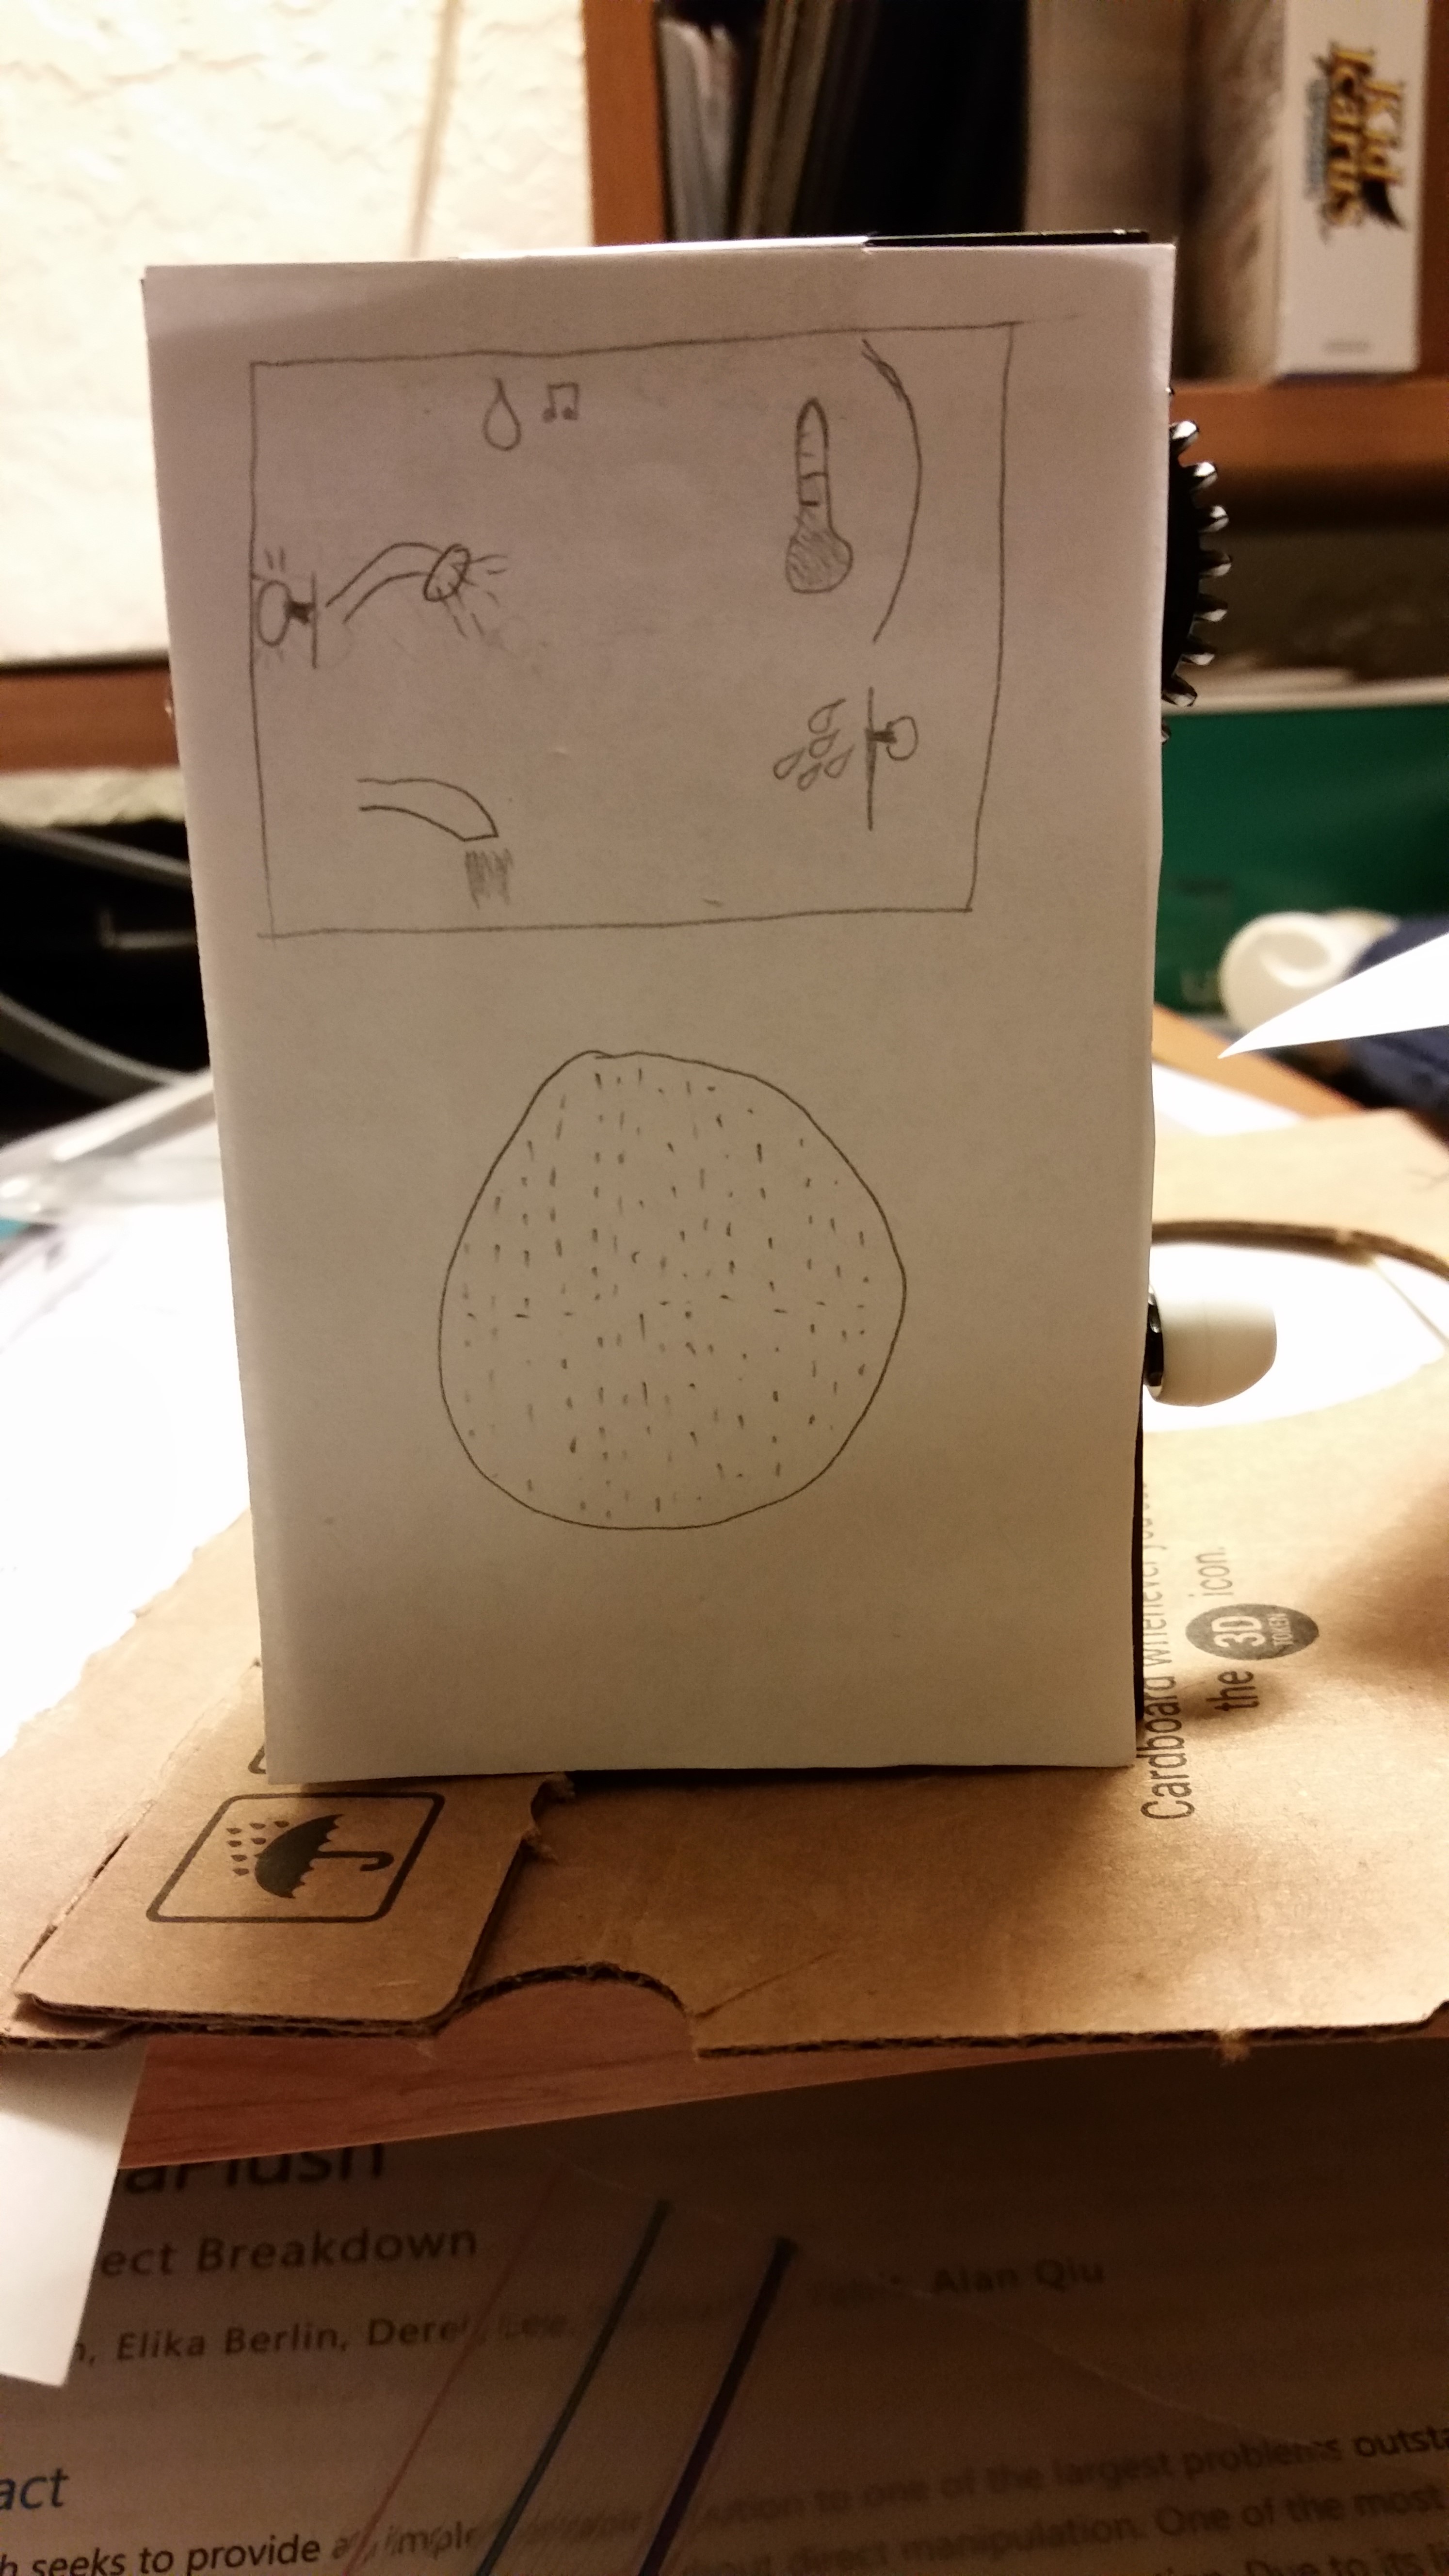
My first pass at the design was a roughly 2″x4″ box made of Lego with a 1.5″ cog on the top of the right side and a slider with a button covering the rest of the side. The Lego was initially chosen due to the convenience of both materials and ability to modify, but it also had the benefit of having ridges on the back, improving the grip for when used in a wet, slippery environment. To emulate the UI, I created a paper front for the model with a mockup of the UI and a speaker drawn on it.
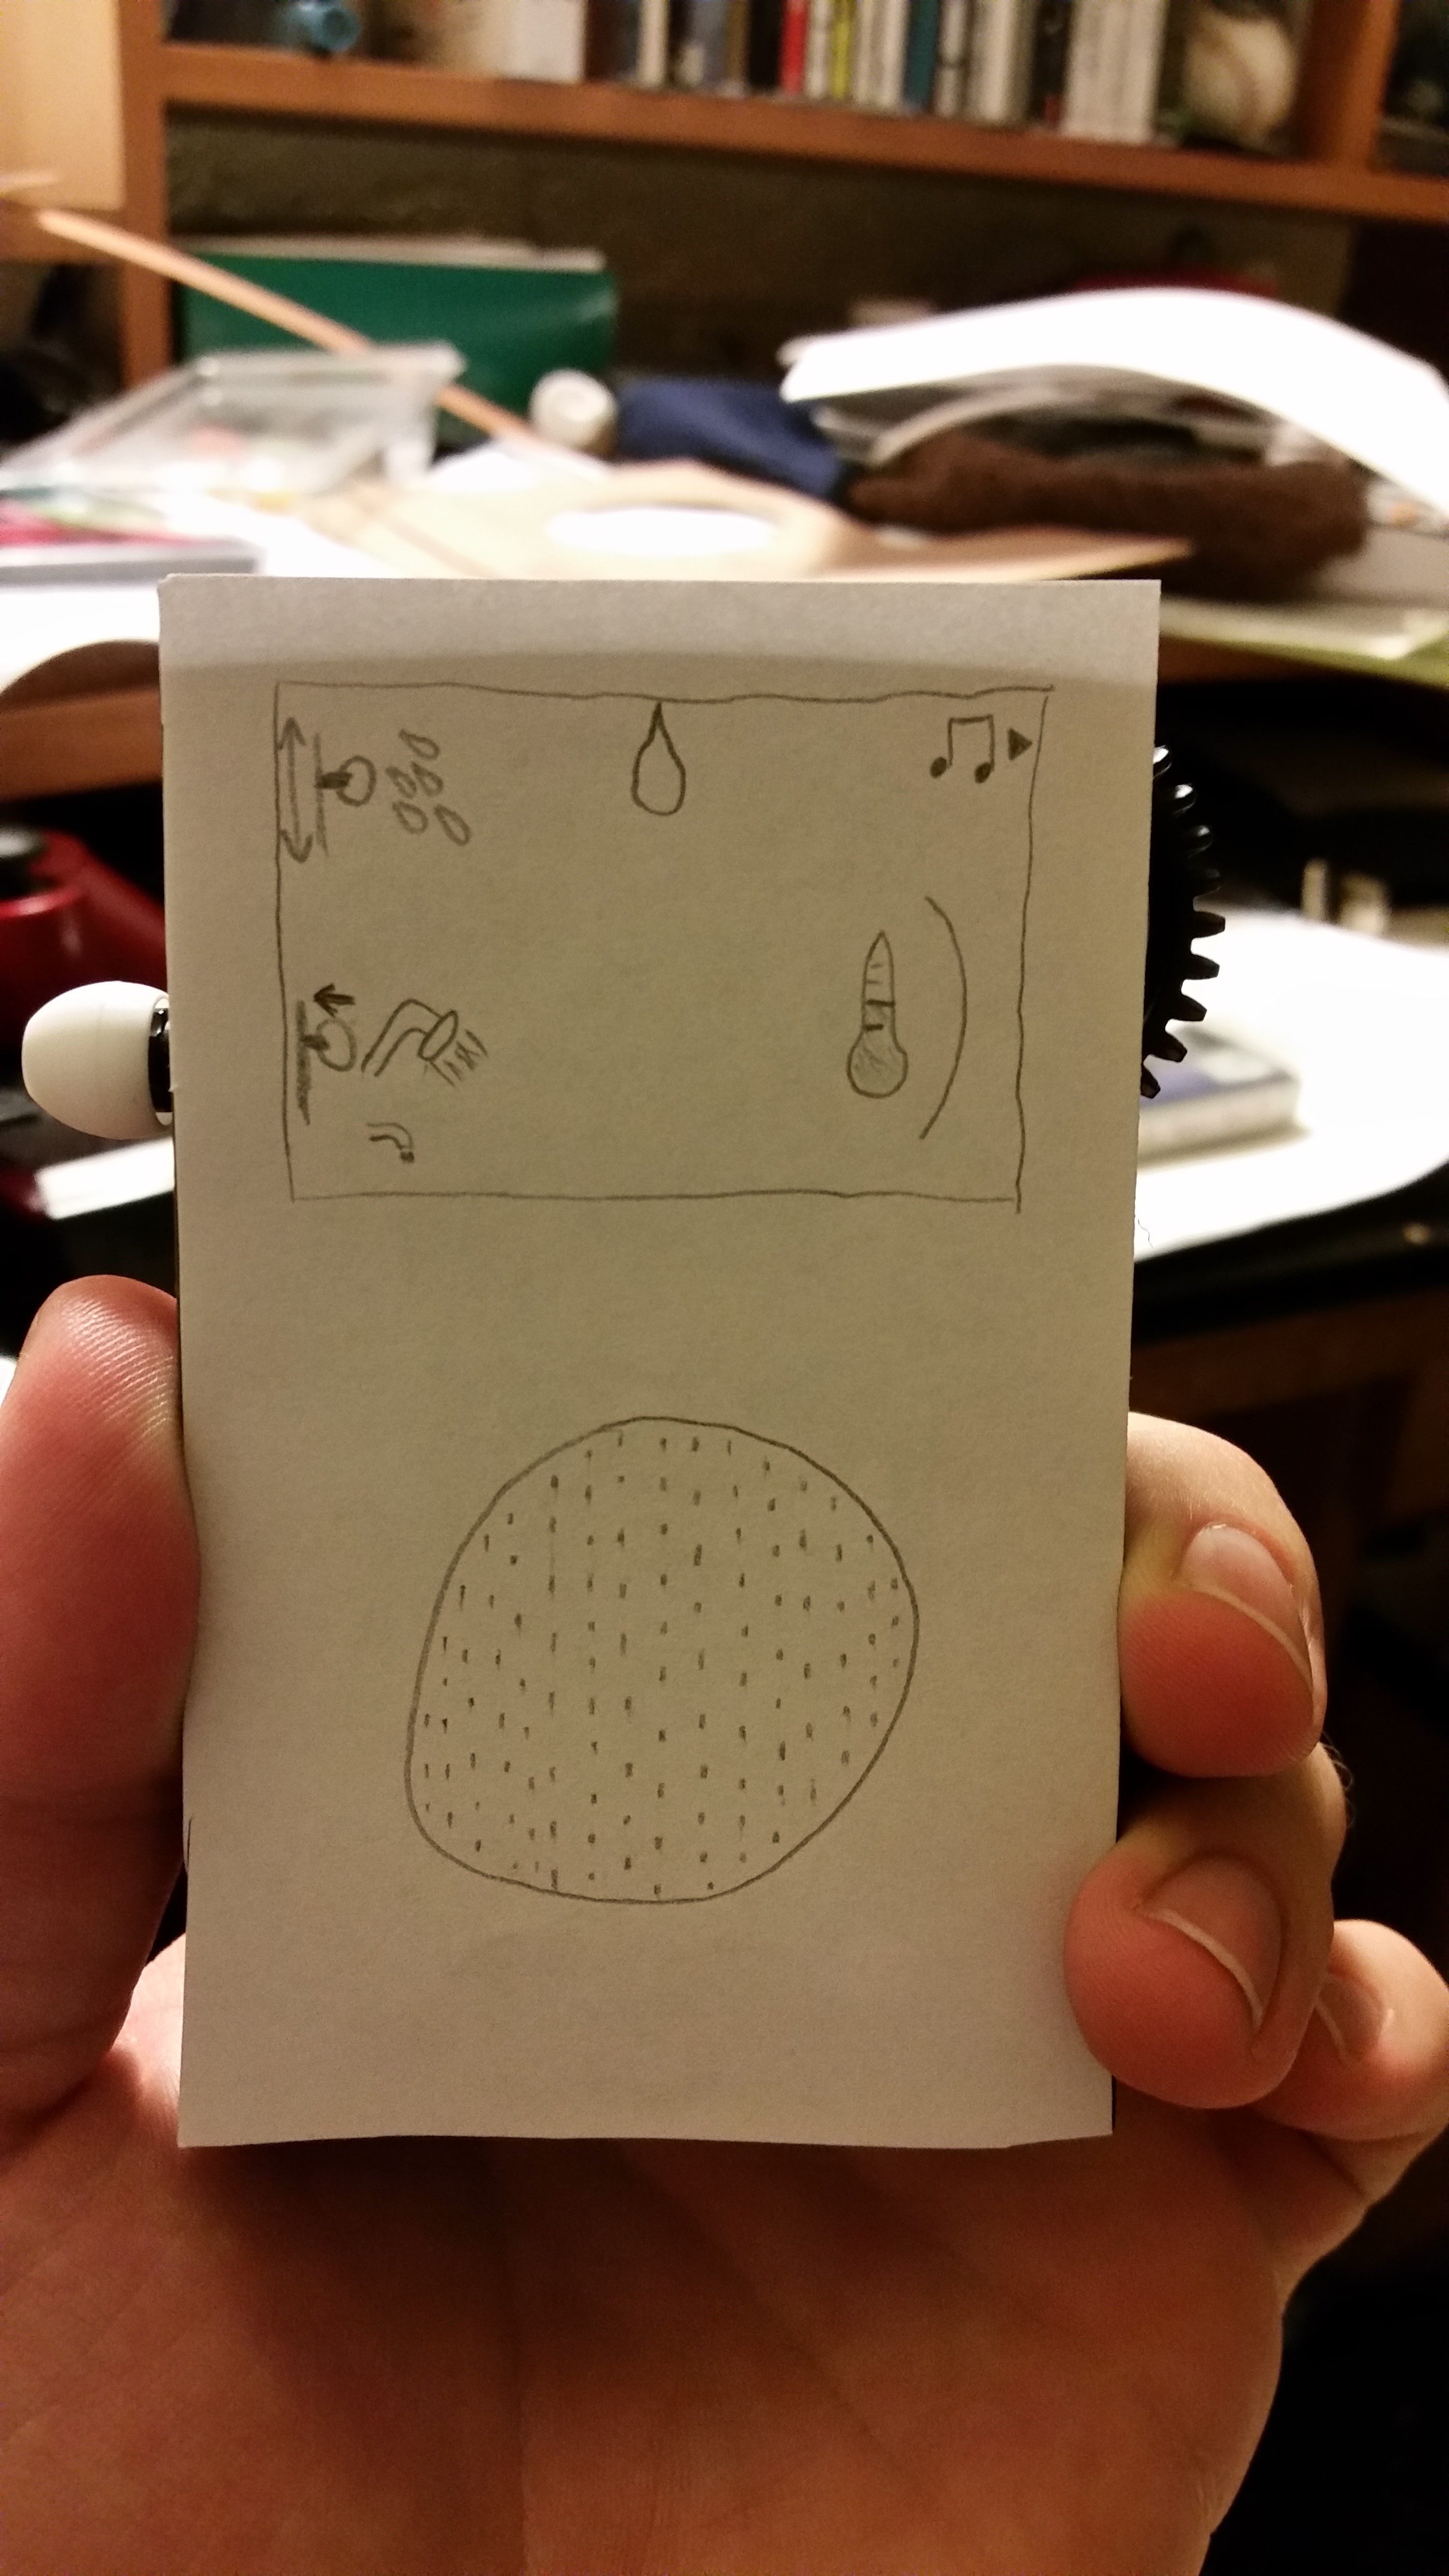
My usability test was very informative, and led to several changes in my design that I feel improved it significantly. The key change I made was actually based on an observation I made outside of the structured test, that being that the user had to use two hands in order to operate the device fully. By moving the slider to the opposite side of the device, the user is able to operate one of the controls with their thumb and the other with their pointer finger, allowing for one-handed use.
This change also allowed for some UI changes that made some operations more apparent. Due to screen space, I initially had the cog and slider controls displayed on the right side (the same side as the controls), but had to place the button display on the other side. By moving the slider to the other side the slider and button controls could be next to each other, implying their connectivity, which was something my participant had trouble figuring out on their own. I also changed the icon for the button to make it clearer that it is something to be pressed.
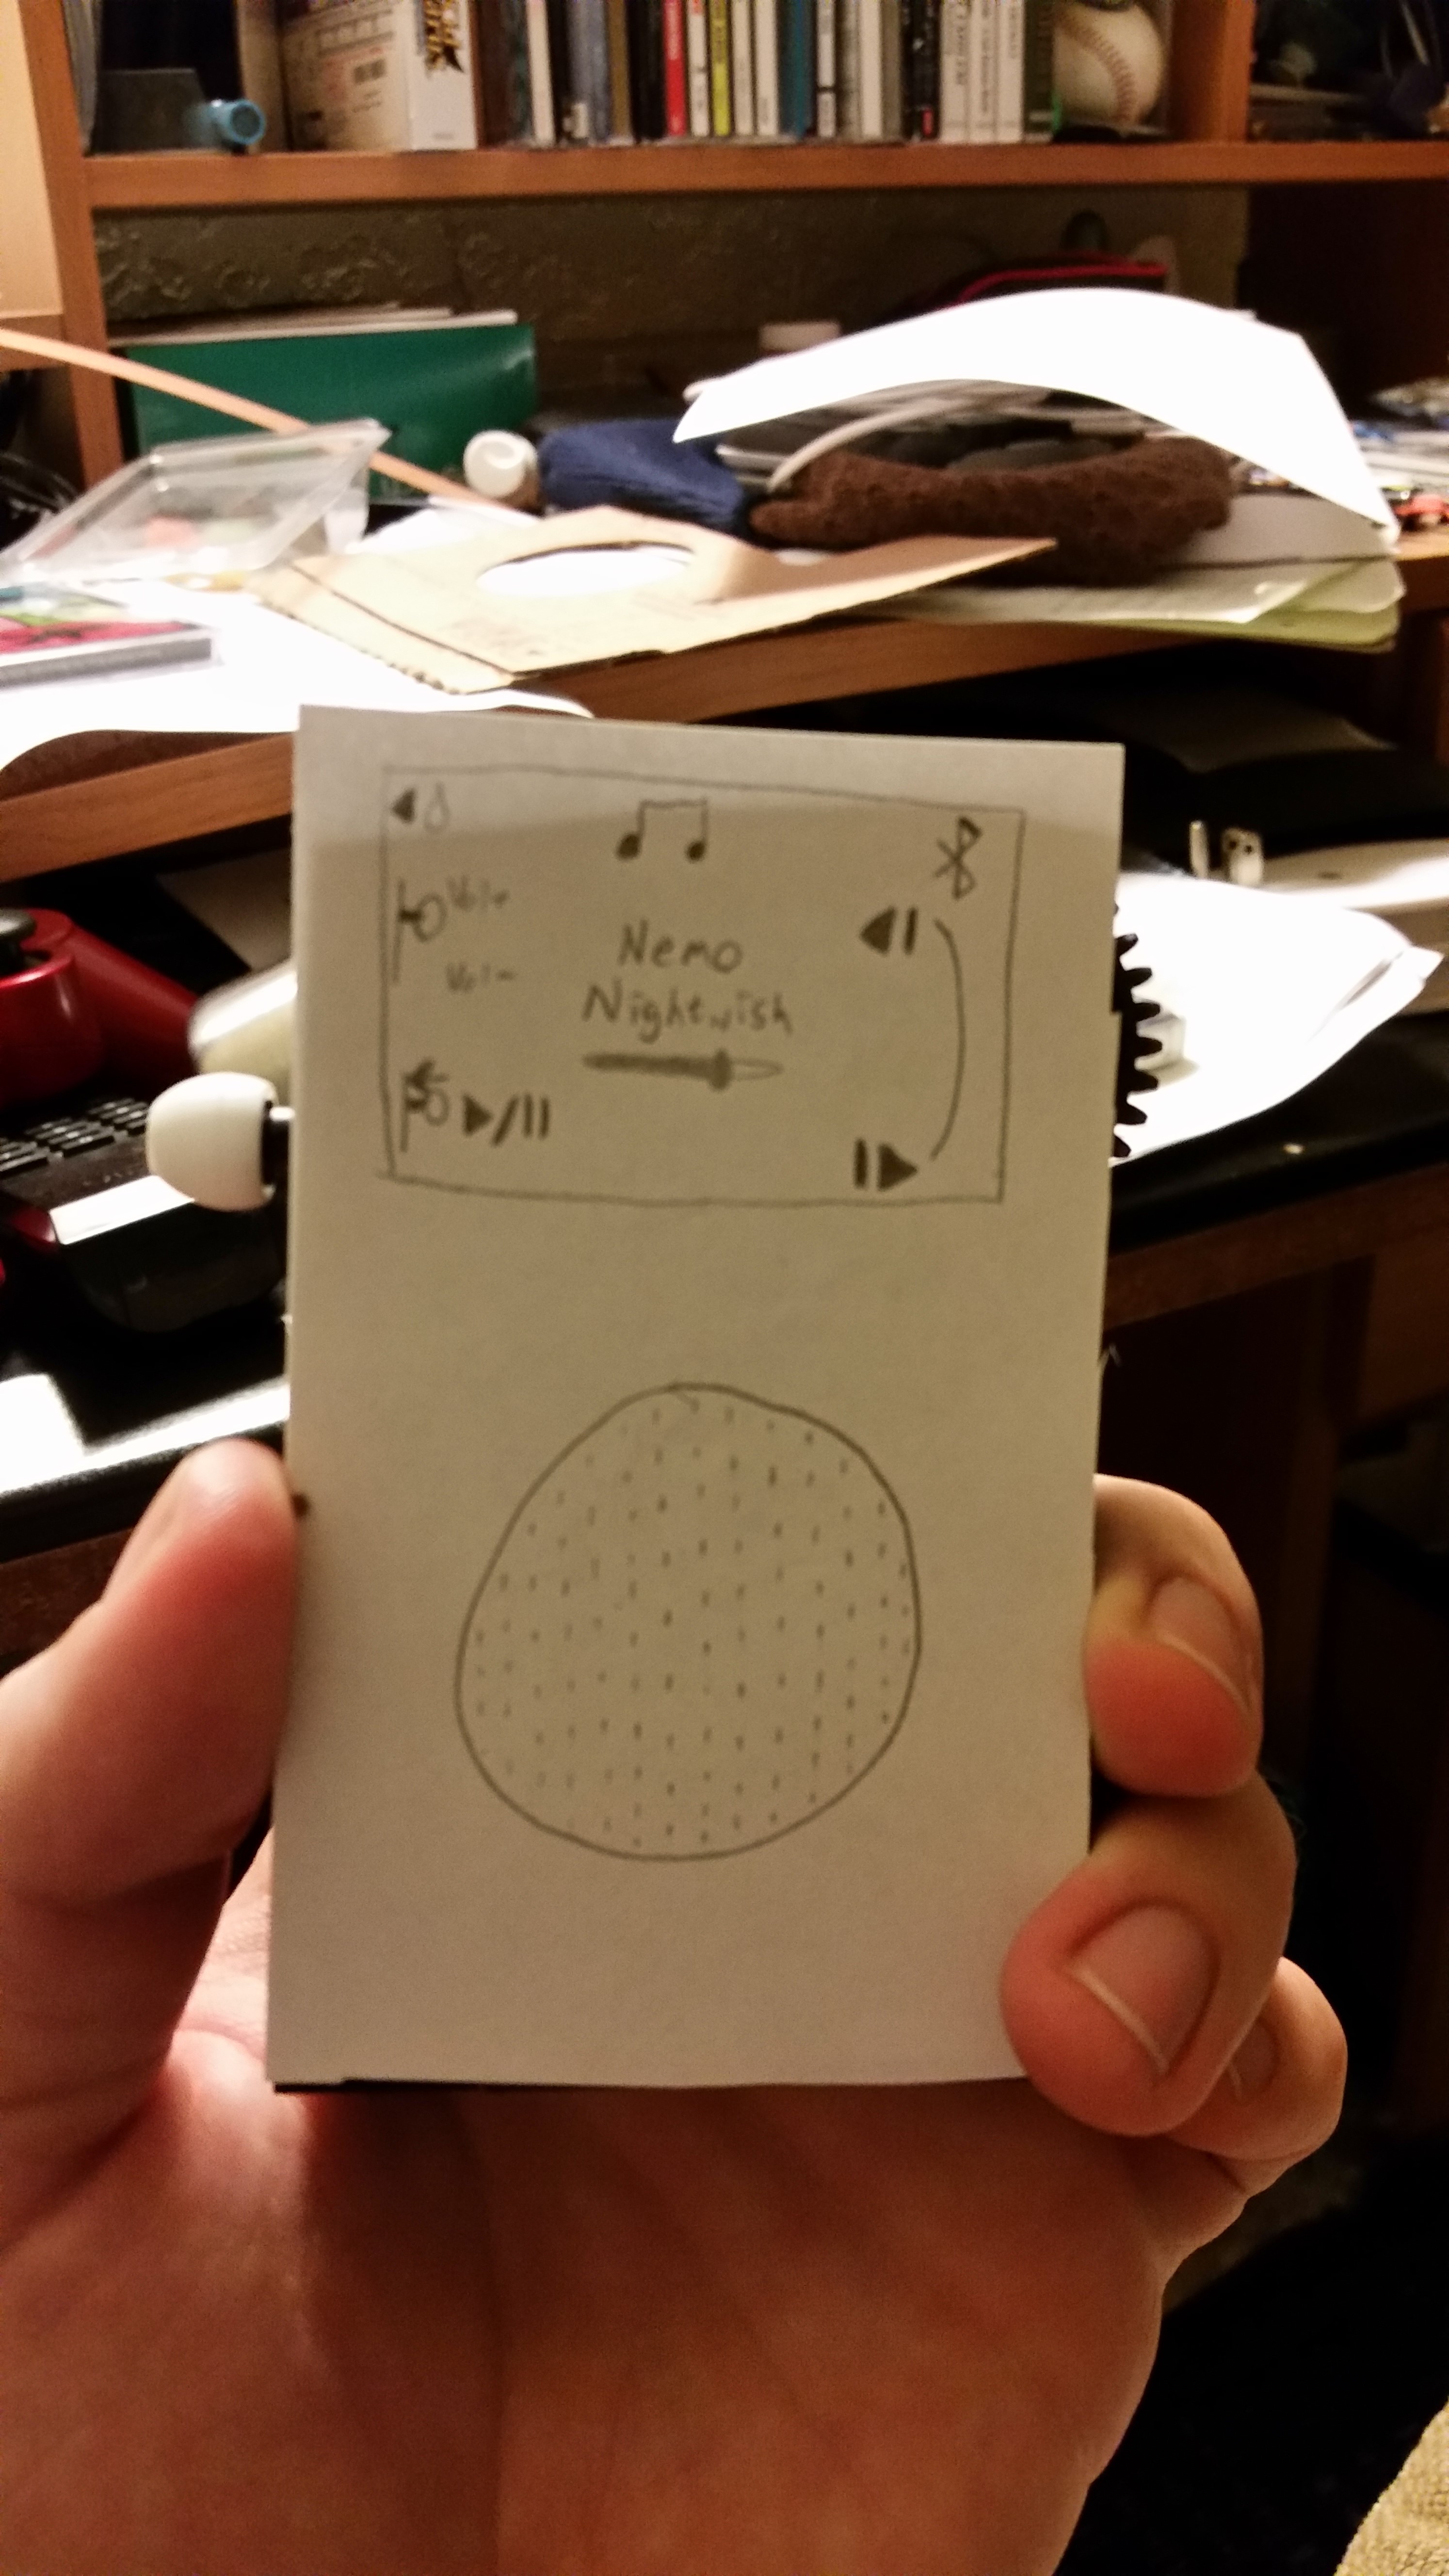
My user also had trouble figuring out how to move from the shower control screen to the music player. I had used an icon layout inspired by phone screen navigation icons intending to imply that the user had to swipe to get from one screen to the next, but my user instead tried to tap on the icons to switch screens. In order to make it clearer that the music player lies “offscreen” to the right, I moved the icon for the player to the top-right corner of the screen with an arrow pointing towards the edge of the screen.
It is worth noting that while my user was having trouble finding how to switch screens during the usability test, I caught myself making a slight misstep. After he had indicated that his first instinct would be to touch the icon instead of swiping the screen, I asked him what he looks for to indicate that a screen needs to be swiped. The question itself is good, I believe, but before asking it I should have asked what he would have done if tapping had not worked. As it was, his response was “Oh, swiping would have been what I would have tried next,” but not having asked the question before giving him the solution throws the validity of that statement out the window. Even so, I believe the change I made to address the issue was worth making, as it leaves little to no doubt what interaction the device is looking for.
You can find an abridged, one-minute version of my usability test here. Thank you for reading!